


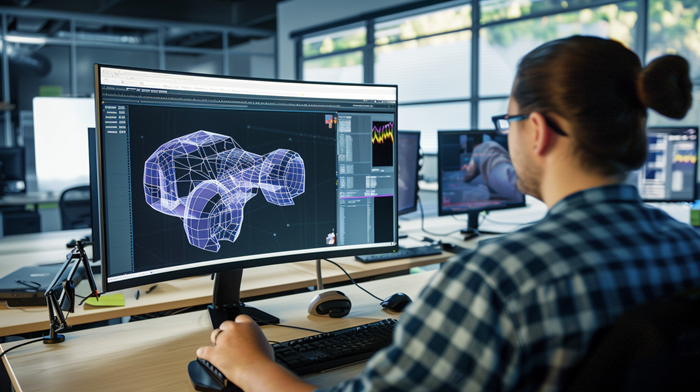
3D visualization is the process of creating a photorealistic or stylized image based on a 3D model. It is used in architecture, industrial design, advertising, and e-commerce to showcase an object exactly as it will appear in reality—even before production or a photoshoot takes place.
The quality of the final result depends not only on the rendering software but also on the proper setup of the model, materials, lighting, and camera. Below, you will find a clear workflow and practical recommendations to help speed up the process and create a compelling image.
Practical tips for consistent results
1) Create quick draft renders during the early stages. It is better to frequently check lighting and materials using low settings than to wait for the final render only to discover errors in reflections or scale.
2) Build the scene around a reference: select a background and lighting that align with the brand style and the project’s objective. If a “catalog” look is required, opt for a neutral background and soft lighting; for an advertising look, use high contrast, accent lighting, and a striking composition.
3) Pay attention to technical specifications. Resolution, file format (PNG/TIFF/JPG), color space, and background transparency requirements should be established beforehand to avoid redoing the post-processing work.
4) Don’t overdo the post-processing. Minor adjustments to exposure, contrast, white balance, and sharpness are perfectly acceptable.
However, if you have to “save” the image in an editor, it means the lighting or materials were set up incorrectly.
If predictable quality and speed are required, companies often commission 3D Product rendering services—especially when it is important to adhere to brand guidelines, showcase a product line with a consistent style, and generate a set of views for various platforms.
The bottom line: strong 3D visualization relies on a sound workflow—accurate geometry, realistic materials, purposeful lighting, and precise camera work. A systematic approach and the use of intermediate renders allow for the creation of realistic images without unnecessary iterations.
Defining the task: what exactly needs to be shown and what constitutes an acceptable result
The quality of a 3D visualization begins not with the software, but with the definition of the task: what exactly should the viewer understand, feel, and remember after seeing it? A clearly defined goal helps determine the appropriate level of detail, style, camera angles, and materials, while preventing wasted time on “beauty for beauty’s sake.”
The process of accepting the final result becomes transparent only when completion criteria are established in advance: which shots are being delivered and in what format; how the client verifies compliance with the brief; and which modifications count as standard revisions versus changes to the original specifications. This reduces risk, saves budget, and speeds up the approval process.
What to document in the task brief and acceptance criteria
1) Visualization goal and key message: formulate a single sentence answering the question, “What needs to be demonstrated or explained by this image?” (e.g., layout, atmosphere, functionality, or a product advantage).
2) Subject and scene boundaries: list what must be included in the frame and what should be excluded. Clearly define the “don’ts”: restrictions regarding brands, objects, materials, symbols, and the surrounding environment.
3) Target audience and usage context: who the visuals are for and where they will be displayed (website, marketplace, presentation, billboard, catalog). This directly influences composition, readability, and the level of photorealism.
- Output type: photorealism, stylized, “clean” product render, concept, technical visualization.
- Tone: premium vs. mass-market, “warm” vs. “cool,” daytime vs. evening, professional vs. emotional.
- Key focal points: what needs to stand out most (facade material, logo, lighting, layout).
4) Shot list and content for each: treat every angle as a distinct mini-task. Define the list and purpose of the shots to avoid producing the “wrong” images, even if the execution quality is excellent.
- Primary angles: 2–5 key shots that capture the essence of the assignment.
- Supplementary shots: details, assemblies, alternatives, close-ups of materials.
- Variations: day/night, with/without people, different finishes or configurations.
5) Data sources and priorities: which materials are considered the “source of truth” in the event of discrepancies.
- Geometry: drawings, BIM/3D models, dimensions, tolerances, and scale.
- Materials: references, catalogs, RAL/brand/texture, substitution constraints.
- Environment: context (urban/nature/interior), season, weather, props.
6) Technical delivery parameters: establish measurable requirements in advance.
7) Acceptance criteria (checklist): agree beforehand on the points that define the work as complete.
- Geometric accuracy: dimensions, proportions, object composition, absence of extraneous elements.
- Materials and colors: alignment with references and specifications, texture legibility.
- Lighting and atmosphere: alignment with the brief (daytime…