


Repairing cracks in walls is an important step in maintaining the integrity and aesthetic appearance of your home. Properly repairing defects will help prevent further damage and preserve the structural integrity. To do this, it’s essential to select the right materials and tools, as well as follow proven repair techniques to ensure long-lasting results.
Whether you’re renovating in basement renovation Edmonton or anywhere else, it’s important to consider the specific materials and conditions of the walls. Properly repairing cracks not only restores the appearance but also improves the safety of the space, especially in basements or cellars. Follow our tips and recommendations to achieve the best results for your project.
Effective Methods for Repairing Cracks in Wall Cladding
When cracks are detected in wall coverings, it’s important to promptly select the appropriate repair method to prevent further damage and preserve the aesthetic appearance of the space. The correct technique depends on the nature and width of the crack, as well as the type of wall material. Using inappropriate methods can lead to recurrence of the defect and complicate subsequent repairs.
Before beginning repairs, it is advisable to diagnose the condition of the crack, determine its depth, and determine the cause. This will help you choose the most effective repair technique and ensure long-lasting results. Below are the basic methods for repairing wall cracks that are successfully used in most cases.
Determining the Causes of Cracks and Choosing the Right Repair Tools
To successfully repair wall cracks, it is important to first determine their origin. This will allow you to choose the most effective repair methods and prevent recurrence of the damage. The main causes of cracks include shrinkage of building materials, changes in moisture conditions, geological shifts, as well as mechanical loads and improper thermal insulation. Analyzing the extent and nature of the crack will help you determine whether it is due to temporary or chronic problems and determine the urgency of repair.
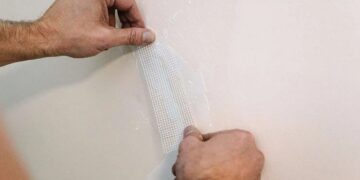
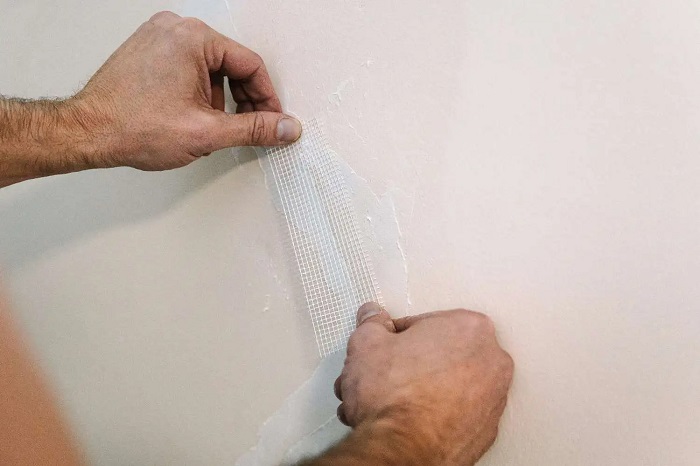
The choice of the right tools depends on the type of crack and the nature of the wall material. For small surface cracks, spatulas, utility knives, and trowels are suitable. Deeper or structural damage requires the use of hammer drills, drills, and surface preparation tools such as sanders or brushes. The need for specialized tools depends on the nature of the work—for example, to seal a crack and achieve a smooth surface, you’ll need to use putty mixtures, and if reinforcement is needed, reinforcing mesh and adhesive. Adherence to the operating instructions for tools contributes to high-quality repairs and the durability of the work performed.
Surface Preparation: Cleaning, Degreasing, and Removing Old Materials
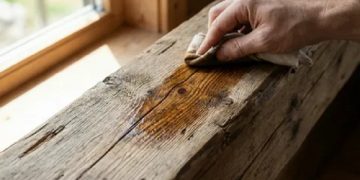
The next step is to ensure the surface is clean, removing dust, dirt, and any remaining old paint or plaster layers. This will improve the adhesion of the repair mixtures to the substrate.
Basic Surface Preparation Steps
- Surface Cleaning – Remove dust, dirt, and particles of old materials with a brush or vacuum cleaner.
- Degreasing – Use solvents or detergents to remove oils, greases, and other substances that reduce adhesion.
- Removing Old Materials – Carefully remove loose paint, plaster, or drywall to leave a smooth and durable base for repair.
Effective surface preparation includes thorough cleaning, Degreasing and removing old coatings and damage. Only this approach can achieve high-quality crack repair and ensure the longevity of the restored wall.


